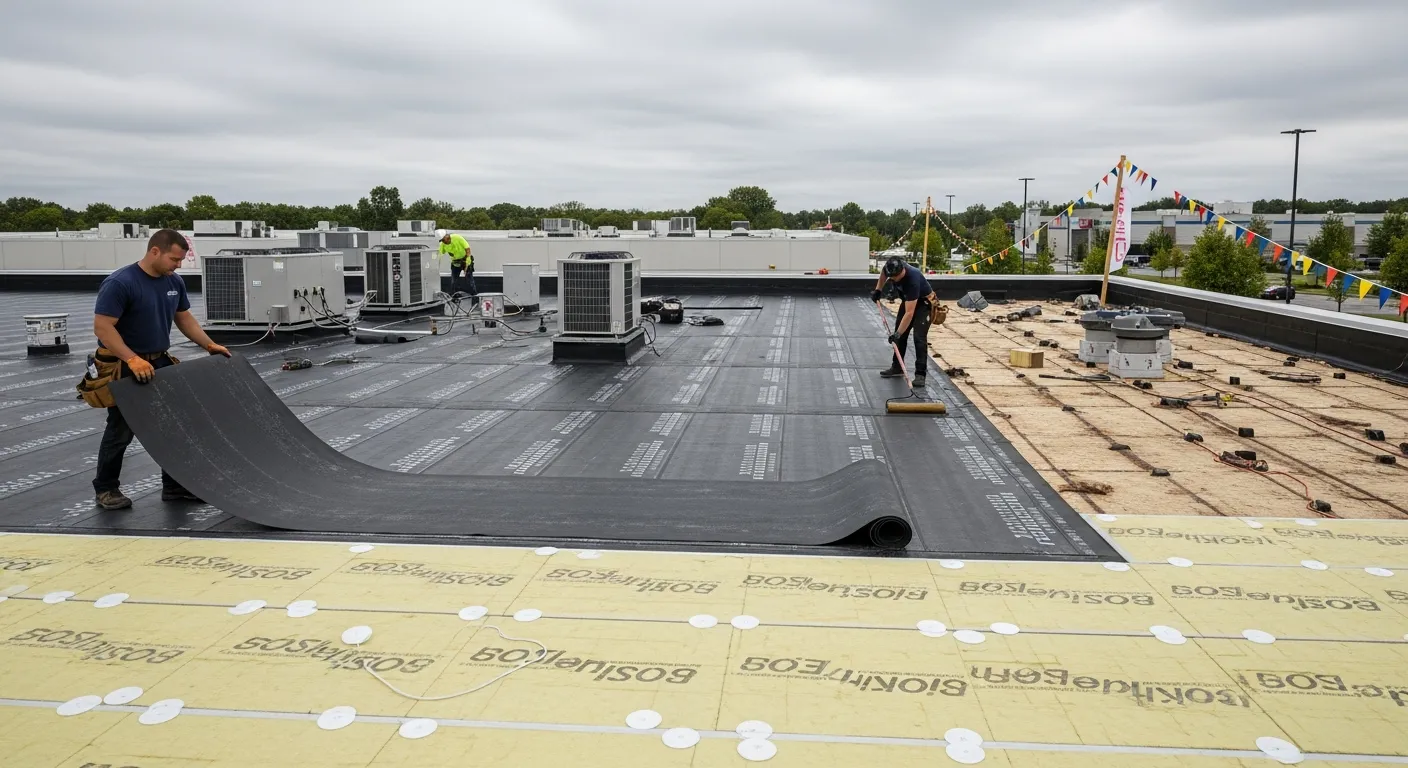
Roof installation is done either at the time of replacement or while building a new home. There are several types of roofing materials, and a rubber roof is one of the most popular roofing materials used widely. Installing a roof is a major investment, and it’s obvious that homeowners want it to last. However, the longevity and lifespan of the roof depend on the installation methods. This blog discusses everything about the installation, benefits, limitations, maintenance practices, and more.
What is Rubber Roofing?
Rubber roofing, or more specifically EPDM (Ethylene Propylene Diene Terpolymer), is a synthetic rubber membrane used on low-slope flat roofs. This roofing type is applied as one continuous layer on the surface of the roof. It was originally designed to be used as a pond liner. Then, in the early 1970s, a bright mind suggested using it as roofing because they opined that if it can be used underwater, why not for roofing?. With the advancement in technology and impressive features, the EPDM roofing material made its mark in residential projects.
EPDM is manufactured in rolls, and the widths may vary from 7.5 to 50 feet. It is available in thicknesses of 30, 45, 60, and 100 mils (1 mils = 0.001 inches). Most of the rubber roofing is available in black color, while some is also available in white, gray, tan, etc.
Why Use EPDM Rubber for Roofing?
EPDM roofing has several advantages, such as -
-
It is durable, affordable, and low-maintenance.
-
The rubber roof can also resist harsh weather conditions and is best for flat and low-slope structures.
-
Next, the roof is UV-resistant and does not require any other covering to protect the roof from sunlight.
-
EPDM does not deteriorate quickly; hence, it can last for at least 5 decades.
-
The material has a good fire rating and is also available in a fire-retardant version for additional safety.
However, ensure not to expose the material to grease, oil, solvents, and petroleum.
How is the Rubber Roof Installed?
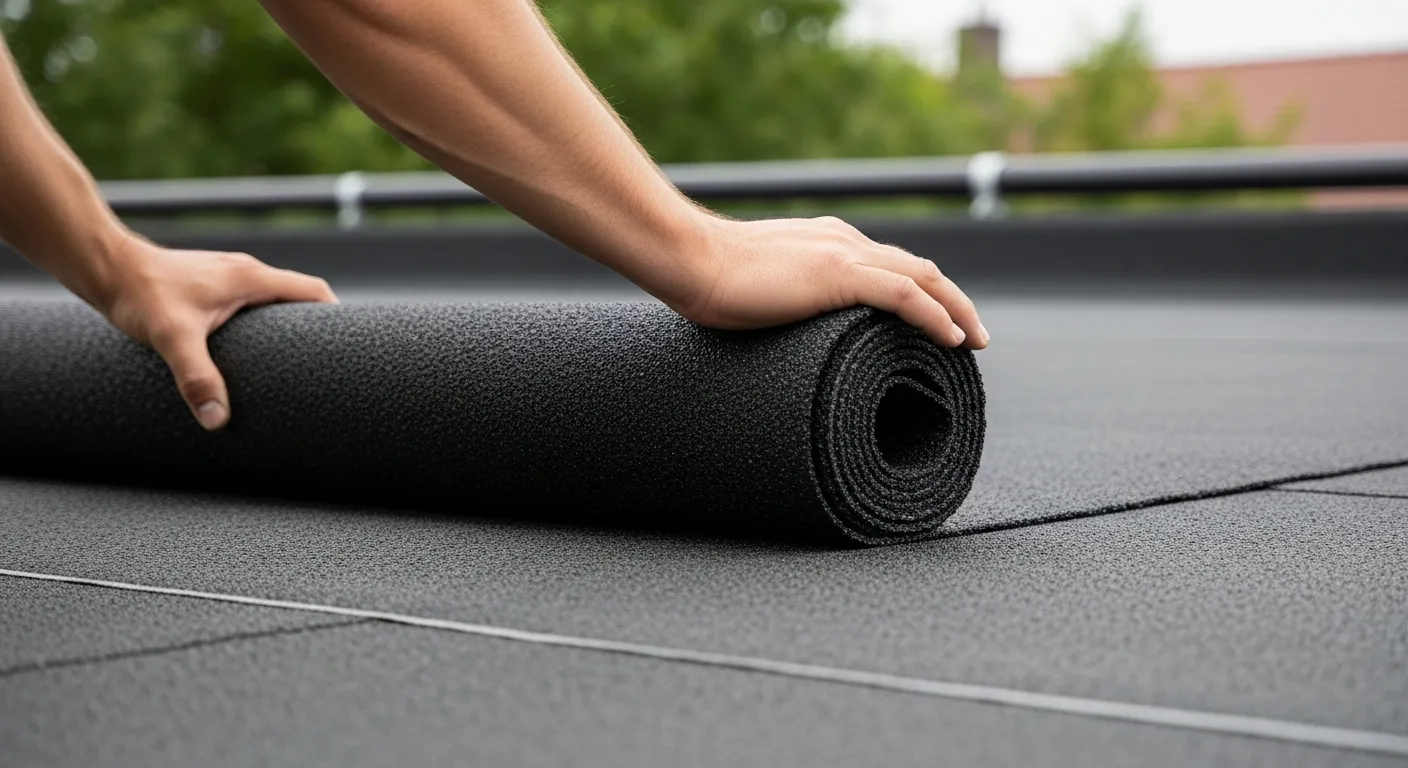
Rubber roofs are installed mainly in three ways -
Ballasted
In this process, the EPDM membrane is laid loosely on the roofing substrate and is held down by heavy materials, such as stones or concrete slabs. This installation method makes the roof look aesthetically pleasing while offering proper energy efficiency.
Completely Adhered
In this process, the membrane is directly glued to the insulation layer. Though it is quite time-consuming, this process ensures longevity, makes the membrane resistant to wind uplift, and increases energy efficiency.
Mechanically Fastened
This is one of the most common and quickest methods of installing a rubber roof. Installers use metal fasteners and plates to secure the membrane to keep it in place. The membrane is then attached to the insulation board and roof decking.
Step-by-Step Rubber Roof Installation Process
Before you install rubber roofing, there are certain tools and materials you may need:
Tools and Materials
Tools
-
Measuring tape.
-
Chalk lines.
-
Cutting tools to adjust the membrane.
-
Spray guns to apply primer and glue.
-
Rollers to apply pressure where needed.
Materials
-
Primers and adhesives.
-
Use seam tape to prevent leaks.
-
Cover tape for potential weak areas.
-
Termination bars to secure the edges.
-
Fastener and plates.
Prep the Roof
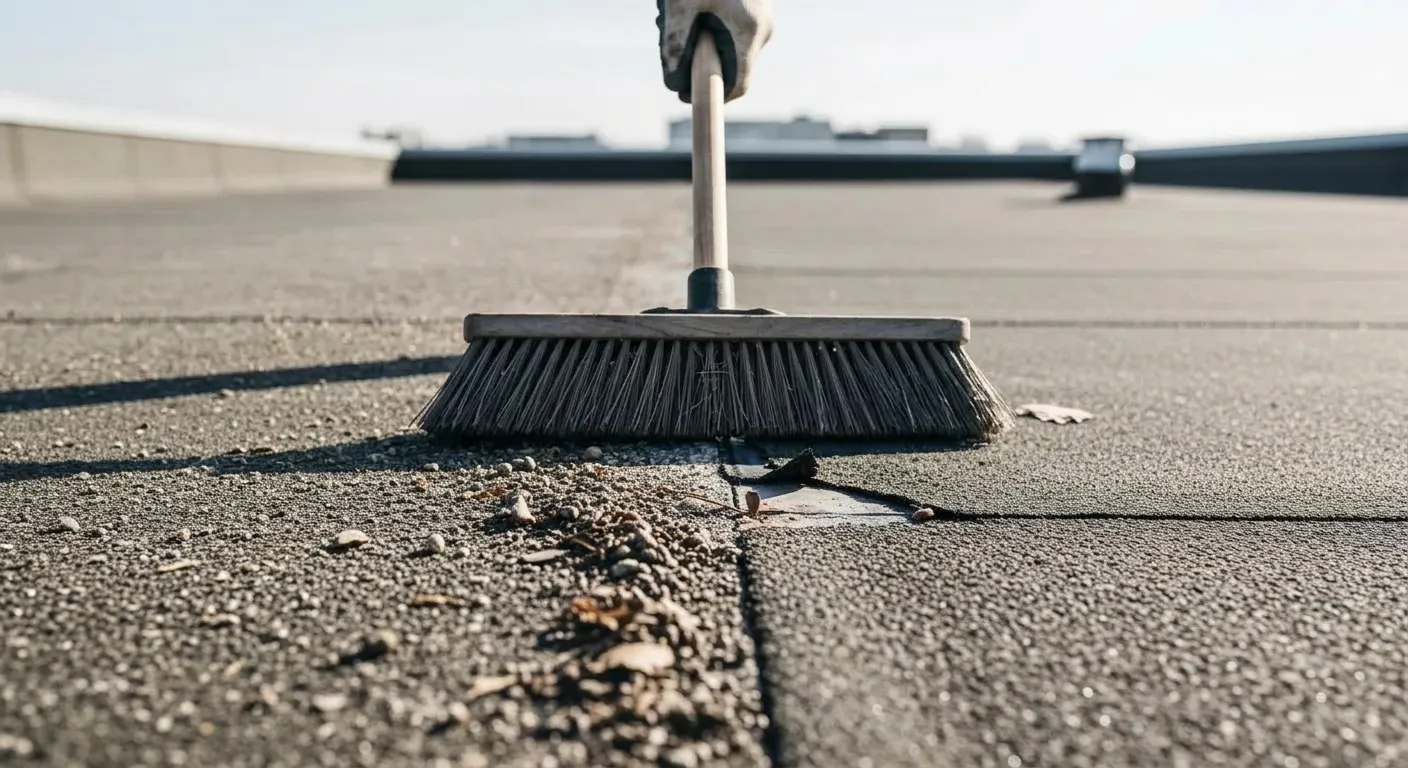
It is important to make sure that the membrane is properly set up. So, first consider cleaning the surface, as it needs to be free of any debris or dust, so that the adhesion can bond strongly. While cleaning, you may see certain weak areas that can impact the installation process.
Any minor or major issue should be addressed promptly. This prevents any issues in the future and ensures longevity. After the deck is clean and there are no issues, apply a primer that is compatible with rubber. It is important to apply the primer evenly and generously to create a perfect base. All of this ensures that the rubber roofing bonds properly with the surface.
Laying the Rubber
Depending on the roof surface, cut and adjust the rubber roofing. First, spread the material all over the roof, smooth out the wrinkles, and get it into position. Then fold it backwards to apply adhesive.
Check the Seams
Seams should always be checked when installing new EPDM rubber roofing. For seams, you can use seam tape to make them stronger and completely waterproof. This is an important factor to consider if you have a flat roof, where snow tends to sit or water may accumulate.
Clean the overlapping surfaces with a cleaning solvent and brush a splicing adhesive onto both surfaces. Allow it to dry a bit and roll the piece back to the place without stretching or wrinkling the material. Then, roll the seam with a hand roller, and when it is set, apply beads of special lap caulk to the seam’s edge to make sure water does not go in between the layers.
Can a Rubber Roof be Installed Over Shingles?
Many homeowners often wonder if their existing shingles can support a rubber roof membrane. In many cases, it can be done. However, it must be noted that installing a rubber roof over existing shingles is not a DIY project, and you must hire a professional. They assess the roof and give you complete information and details. Here’s what they do -
Assess the Existing Roof
Professional roofers assess the condition of the existing shingles and look for signs of wear and tear, extreme damage, or rot. It is important to ensure that the surface is even without any bumps, high points, or major dips.
Add a Protective Layer
Professionals advise adding a protective layer over the shingles before installing the rubber roofing. The protective layer can be a board or insulation that helps create a smooth and even surface.
Install the Rubber Roof
Once the prep work is done, lay the rubber roofing material in place and follow the installation steps mentioned above.
Conclusion
Rubber roof installation is a relatively easier process and can be done in several ways. For example, you can opt for a ballasted method or secure the roofing material with mechanical fasteners. The EPDM roofs are quite durable and resistant to harsh weather and can be used for flat or low-sloped roofs. It is important to install them properly, as it also plays an important role in determining their longevity.