Creating a peaceful recording environment doesn’t require a massive budget or a professional studio build. What really matters is how you manage sound inside your space. Small adjustments can make a noticeable difference, especially when you start paying attention to reflections, noise, and placement.
Once you understand how your room behaves, you can shape it to work in your favor. That’s where consistency comes in, because a controlled space helps you capture clean audio without relying too much on post-production fixes.
Start With the Room Itself
Room shape and size set the tone before you even plug in a microphone. A square room tends to exaggerate certain frequencies, while a longer, rectangular space gives you more control. You’ll notice right away how sound behaves differently depending on where you stand, which is why placement matters more than people expect.
Hard surfaces like glass, concrete, or bare drywall reflect sound aggressively, and that reflection doesn’t take long to ruin a clean take. When your voice bounces back into the mic, it creates that hollow, distant feel. That’s exactly the kind of issue you want to catch early instead of fixing it in post.
Furniture can actually help you more than you’d think, especially if you use it intentionally. A bookshelf filled with uneven items breaks up reflections, while a couch absorbs a surprising amount of sound. You don’t need a perfect studio build to get started; you just need to think about what each object contributes.
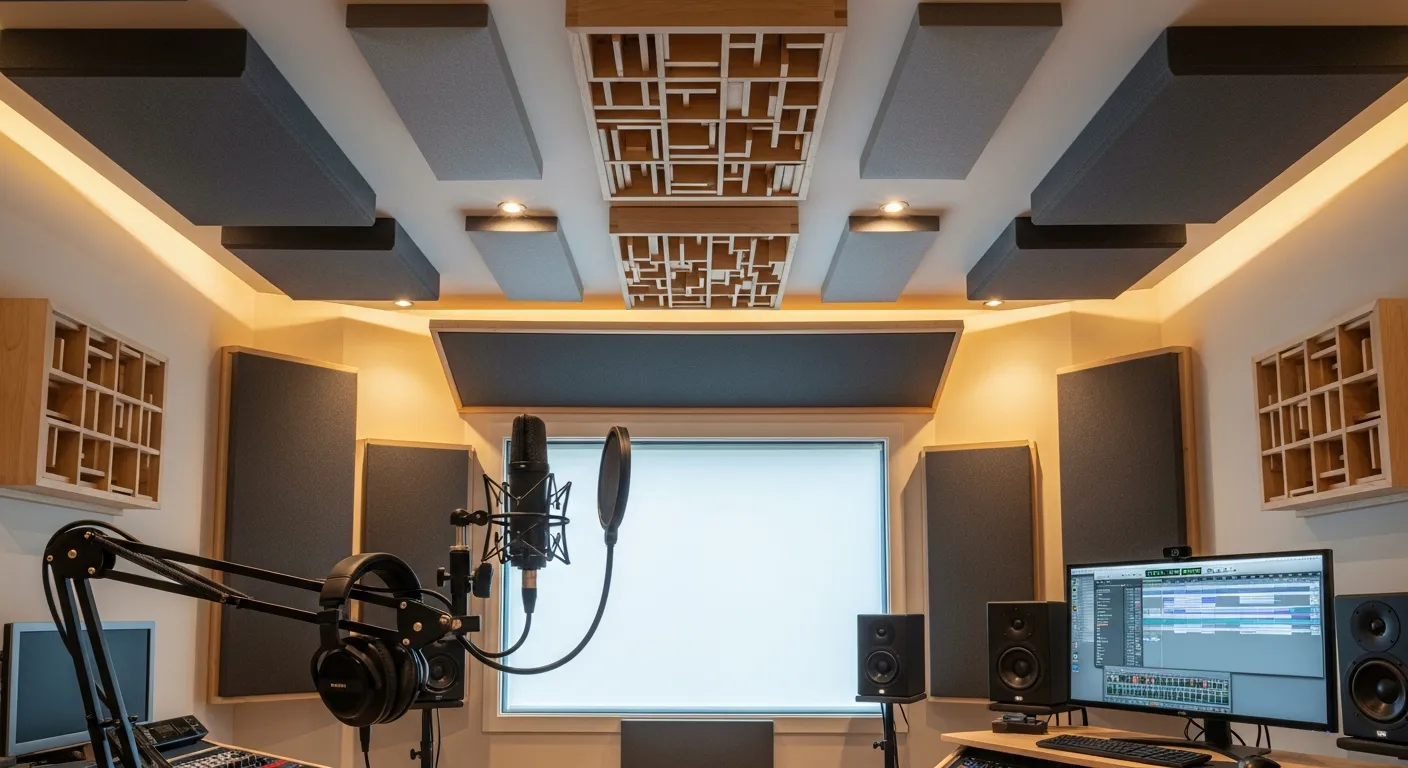
At some point, you’ll want to introduce acoustic panels, but placement matters far more than quantity. Putting them randomly won’t solve much, however, placing them where reflections hit first makes a huge difference. Once you get that right, everything else in the room starts to feel more controlled and predictable.
Control the Echo Before it Reaches the Mic
Early reflection points are one of those things you don’t notice until you start listening critically. Sound leaves your mouth, hits a surface, and returns almost instantly, which creates subtle phase issues. Treating these spots helps you keep recordings tight and focused instead of slightly washed out.
The ceiling and floor often get ignored, but they play a bigger role than most people assume. A bare ceiling reflects sound straight down, while a hard floor bounces it right back up. Even a simple rug or overhead treatment can reduce that ping-pong effect and make your recordings feel more grounded.
Bare walls tend to act like mirrors for sound, and corners amplify that effect even more. When you leave them untreated, you create a space where reflections stack on top of each other. That buildup leads to recordings that sound muddy, even if your microphone and performance are solid.
When you manage reflections properly, your vocals start to sound cleaner without extra processing. You don’t have to rely on heavy EQ or reverb just to make things usable. Instead, you capture something that already feels close to finished, saving time and keeping your sound natural.
Keep Outside Noise Out
Street noise has a way of sneaking into recordings, especially if your space faces a busy road. Even when it sounds distant to you, a sensitive microphone will pick it up. That’s why timing your sessions matters, as does sealing obvious entry points where sound leaks in.
HVAC systems and appliances often create a constant background hum that you stop noticing after a while. The problem is that your microphone doesn’t ignore it. Turning off unnecessary equipment or scheduling recordings when everything stays quiet can clean up your audio more than any plugin.
Doors and windows rarely seal as tightly as they should, which makes them weak points for outside noise. Even a small gap lets in traffic, wind, or distant voices. Adding simple seals or heavier curtains can reduce that intrusion enough to keep your recordings consistent and usable.
Sometimes, the best solution is simply choosing the right time to record. Late evenings or early mornings usually bring less environmental noise. That small adjustment can give you cleaner takes without changing anything in your setup, which makes it one of the easiest wins.
Separate Recording From Mixing
Recording and mixing may happen in the same room, but they serve completely different purposes. When you record, you want a controlled and dry environment. When you mix, you need accurate playback. Trying to optimize both at once often leads to compromises that hurt both processes.
A dedicated vocal booth, even a simple one, helps isolate your voice from the rest of the room. It doesn’t have to be complicated or expensive. A small treated corner can work surprisingly well, as long as you focus on reducing reflections and keeping the sound contained.
Your mixing desk position affects how you hear everything, and small changes can make a big difference. Sitting too close to a wall or a corner can exaggerate certain frequencies. Moving your desk slightly forward or centering it properly can help you make more reliable decisions.
Headphone bleed becomes a problem when sound leaks from your headphones back into the microphone. It might seem minor, but it adds unwanted noise to your recordings. Lowering volume or using closed-back headphones helps you avoid that issue without affecting performance.
Treat Bass Problems Early
Low frequencies behave differently from everything else, and they tend to build up in corners. That buildup creates uneven sound, where some notes feel overpowering while others disappear. You’ll notice it most when your recordings lack consistency across different takes.
Corner bass traps help absorb those low frequencies before they stack up and cause problems. They don’t just improve recordings; they also make monitoring more accurate. Once you control that low-end energy, everything else in the mix becomes easier to balance.
Speaker placement plays a huge role in how bass behaves in your room. Placing speakers too close to walls can exaggerate low frequencies, while uneven positioning creates imbalance. Taking time to position them correctly gives you a more honest representation of your sound.
Testing your room regularly helps you catch bass issues before they become habits. Playing familiar tracks or running simple tests reveals how your space responds. Once you know what to listen for, you can adjust quickly and keep your recordings consistent.
Wrap Up
At the end of the day, a good recording environment comes down to awareness and intention. When you control reflections, reduce outside noise, and fine-tune your setup, your recordings naturally improve. You don’t need perfection, just a space that works with you instead of against you. Keep testing, keep adjusting, and you’ll build a setup that delivers reliable results every time.