Catching mice without sealing the entry points is bailing water out of a boat with a hole in it. Every trapped mouse gets replaced by the next one following the same scent trail through the same gap. The permanent fix is exclusion, but exclusion done in the wrong order creates its own problems, from wasted caulk on unused cracks to mice sealed inside the walls. The workflow below runs in the order professionals use: find, confirm, trap out, seal, verify.
This guide covers:
- Where mice actually enter and how to inspect for it
- How to confirm which gaps are active before sealing anything
- Why trapping comes before sealing, not after
- The materials that hold, the ones that fail, and how to verify the job
Find the Gaps, Then Prove They're Active
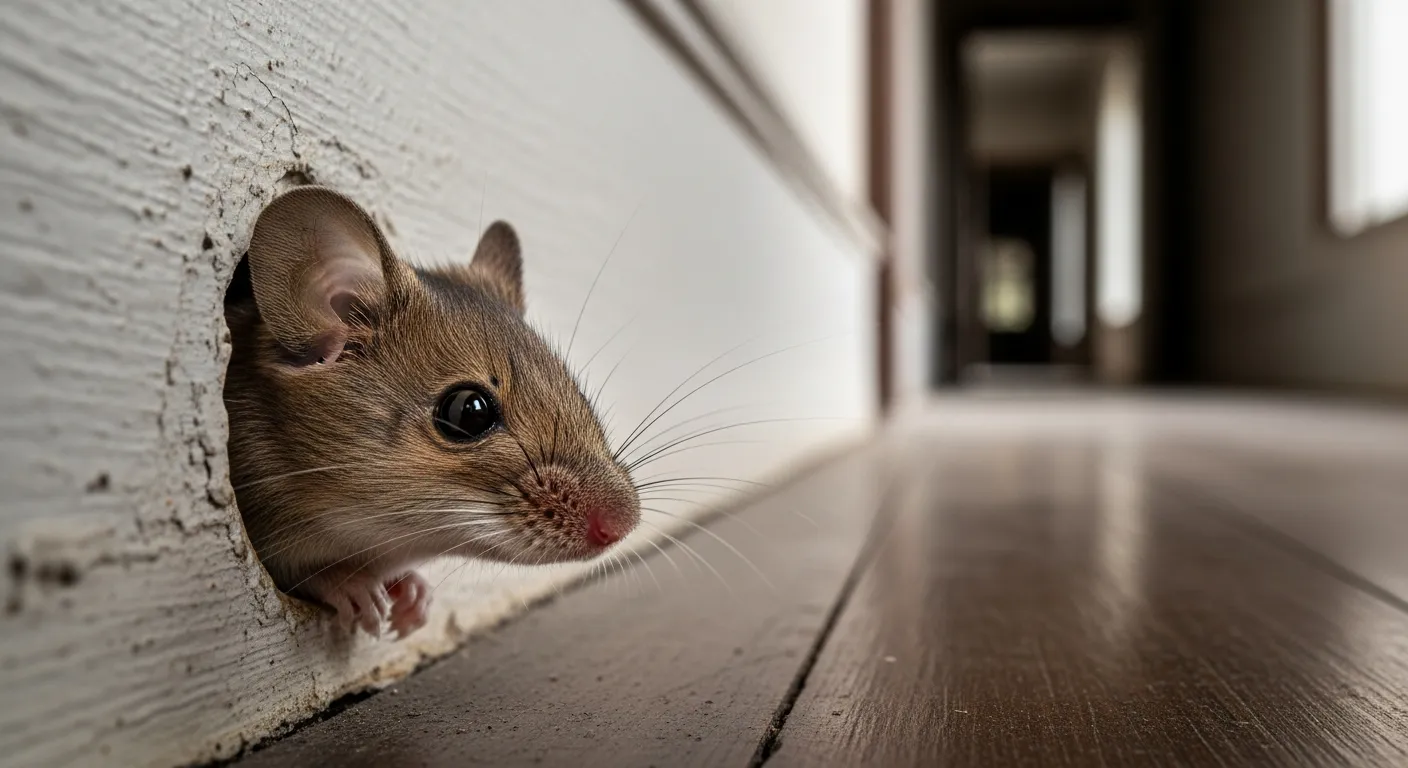
Mice do not need much of an opening. A gap the width of a pencil is enough for an adult mouse, which means the inspection has to be finer than most people expect. Work the exterior first with a flashlight at dusk, when shadows make gaps easier to spot: the foundation line, weep holes, the corners of garage doors, and every point where a pipe, cable, gas line, or dryer vent passes through the wall. Inside, check behind the stove and refrigerator, under sinks around the plumbing, along basement rim joists, and where the floor meets the wall in closets and the laundry room. Anywhere you can see daylight or feel a draft is a candidate.
A candidate is not a confirmed entry, though, and this is the step most guides skip. Sealing every crack you find wastes material on openings mice never use while the real highway stays open behind the water heater. Confirmation is evidence work: droppings, gnaw marks with clean edges, and dark grease smudges along baseboards all mark active routes. The most direct method is using tracking dust before placing mouse traps, a technique borrowed from working exterminators: a UV-reactive powder dusted near suspect gaps clings to fur and feet, and a blacklight sweep a night or two later lights up the exact runways and entry holes in use. ShopRodentFree builds its detection kit around that workflow, pairing the powder with a UV flashlight for the nightly read. However you gather it, the evidence converts a wall full of suspects into a short list of confirmed doors, and everything after this step gets faster and cheaper.
Give the confirmation two to four nights before judging. Mice are creatures of habit, but they do not use every route every night, and a quiet gap on night one can glow on night three.
Trap Out Before You Seal In
Sealing an occupied house is the most common exclusion mistake, and it backfires in ways that are worse than the original problem. Retailers that specialize in rodent control, such as ShopRodentFree, sequence their product categories in the professional order for this reason: detect, trap, then prevent. A mouse sealed inside a wall does not politely leave. It chews new openings from the inside, where drywall and wiring offer far less resistance than exterior masonry, and if it dies in the cavity the odor problem can last weeks.
So once the active entries are confirmed, run a trapping cycle before permanent sealing begins. Place snap traps directly on the confirmed runways, perpendicular to the wall with the trigger side against it, since mice travel edges rather than open floor. Check daily and keep count. The catch rate tells you when the house is clearing: steady catches early, tapering to zero over one to two weeks on a typical residential job. Two or three consecutive zero nights on every runway is the green light to seal. During the trap-out, it is fine to stuff suspect gaps loosely with steel wool as a temporary block; disturbed wool doubles as evidence that a route is still live.
Seal With Materials Mice Can't Chew
Mice chew through wood, plastic, rubber, and ordinary expanding foam without much effort, so the sealing stage is a materials decision more than a technique. According to the Centers for Disease Control and Prevention, small holes should be filled with steel wool held in place with caulk, while larger openings call for lath screen, lath metal, cement, hardware cloth, or metal sheeting. The principle behind the guidance is simple: the barrier either resists gnawing or it is temporary, whatever the label says.
Match the material to the gap:
| Gap type | What holds | What fails |
| Small cracks and holes under an inch | Steel wool packed tight, caulked in place | Caulk alone, foam alone |
| Pipe and utility penetrations | Metal collar or lath metal cut to fit | Expanding foam by itself |
| Foundation and masonry gaps | Mortar or cement patch | Wood filler, plastic |
| Vents and weep holes | Quarter-inch hardware cloth | Window screen mesh |
| Door and garage gaps | Metal-reinforced door sweep, flashing | Rubber-only sweeps |
Work from the outside in, sealing exterior entries first so the building envelope closes before interior touch-ups. Around pipes, cut the material to fit snugly rather than relying on a blob of sealant to bridge the gap. Where foam is convenient, use it as a filler behind a chew-proof layer, never as the barrier itself. The materials for a typical house run well under the cost of a single professional visit, and all of them come from an ordinary hardware store.
Verify the Seal Held
Exclusion jobs fail quietly, which is why verification is a step rather than a hope. After sealing, re-dust the old runways and sweep them with the blacklight a week later; a clean read confirms the routes are dead. Leave a couple of traps along the former highways for two weeks as sentries, and treat any new catch as a signal that a gap was missed or reopened. Then put the whole thing on a light schedule: a monthly walk of the exterior, checking that sealed patches are intact, door sweeps still touch the ground, and no new gaps have opened around settling pipes or weathered trim.
The last piece is making the house less worth breaking into. Store pantry and pet food in sealed containers, keep firewood and debris piles away from the foundation, and trim vegetation that gives cover along the wall line. A sealed house with nothing to eat is a house mice stop testing.
Finding and sealing mouse entry points is less a weekend of caulking than a short investigation with a construction step at the end. Prove which gaps are being used, empty the house, close the doors with materials that resist teeth, and then check your work. Done in that order, it is the last time the job needs doing.
Key Takeaways
- Confirm before you seal: droppings, gnaw marks, grease smudges, or a tracking dust read separate active entries from harmless cracks.
- Trap out first, and only seal permanently after runways go quiet, so nothing gets closed inside the walls.
- Use chew-proof materials, steel wool with caulk for small gaps and metal or cement for large ones, then verify with a re-check a week later.